Free Motion Camera Rig (FMCR)
Further Tweaks
As an artist in the 3D industry, when it comes to 3D animating, especially for animators and layout artists, the composition of the camera holds paramount importance. Have you come across a powerful free Camera Rig known as "FMCR", created by Viktor Kishankov for various software platforms? The best part is that it is entirely free to use, modify, and distribute for future versions, which is 「copylefted」.
Throughout collaboration with animators and layout artists, I have discovered a few methods and camera types (even the default ones in Maya) they utilize based on their specific needs. While most of these cameras offer good concepts and intuitive usage, I couldn't help but wonder why not combine all these benefits into one solution. Hence, I have taken FMCR as a foundation and further enhanced it with additional functionalities.
1. A more intuitive way to control
2. Restructure for further adjustments
3. Cleanup non-used attributes
4. Adding [ Shake ] effect
5. Adding [ Handheld ] effect
6. Adding [ Vibration ] effect
7. Preserving camera motion via separate additional effects
8. Adding Main Ctrl for an easy base setup
9. Bring up commonly used attributes
10. Cameras' crucial settings
1. A more intuitive way to control -
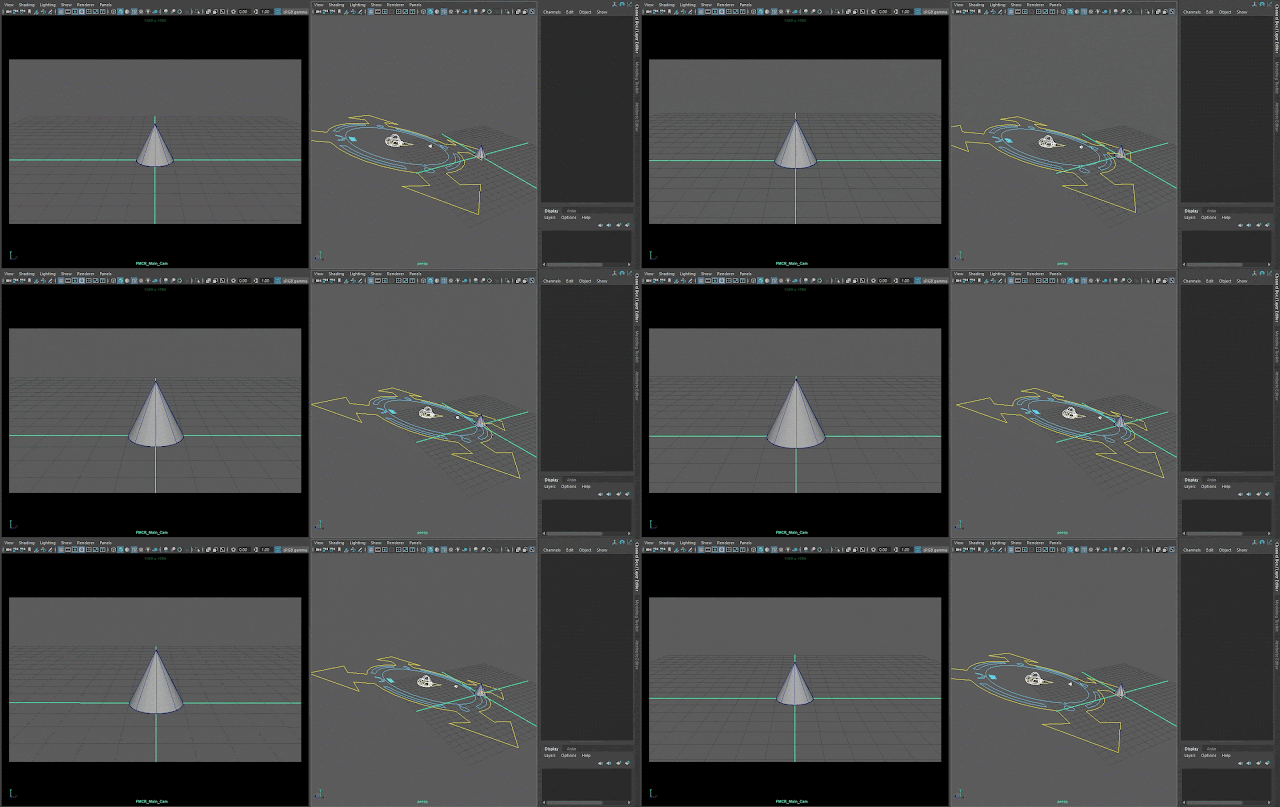
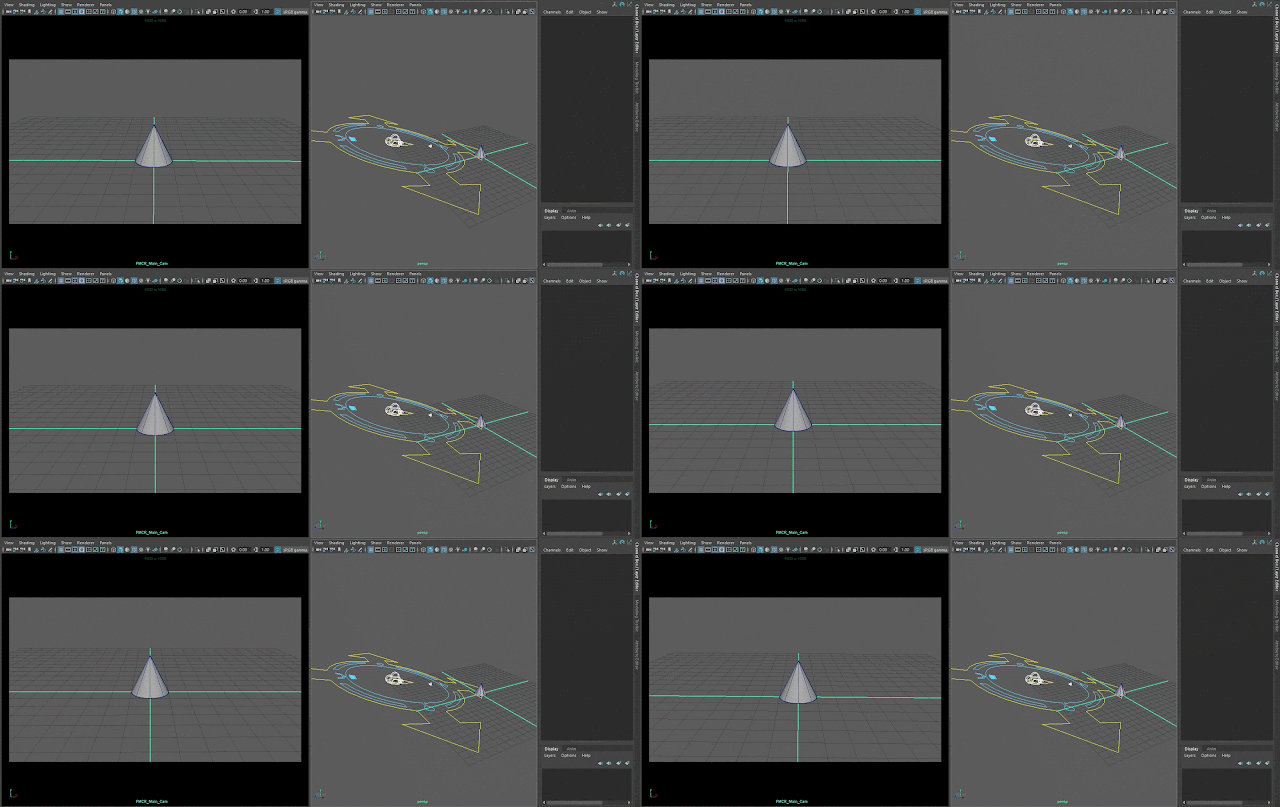
The original movement goes the opposite way. 
Tweak movement to make it more intuitive, so it turns the side in the same direction as the mouse movement.
2. Restructure for further adjustments -
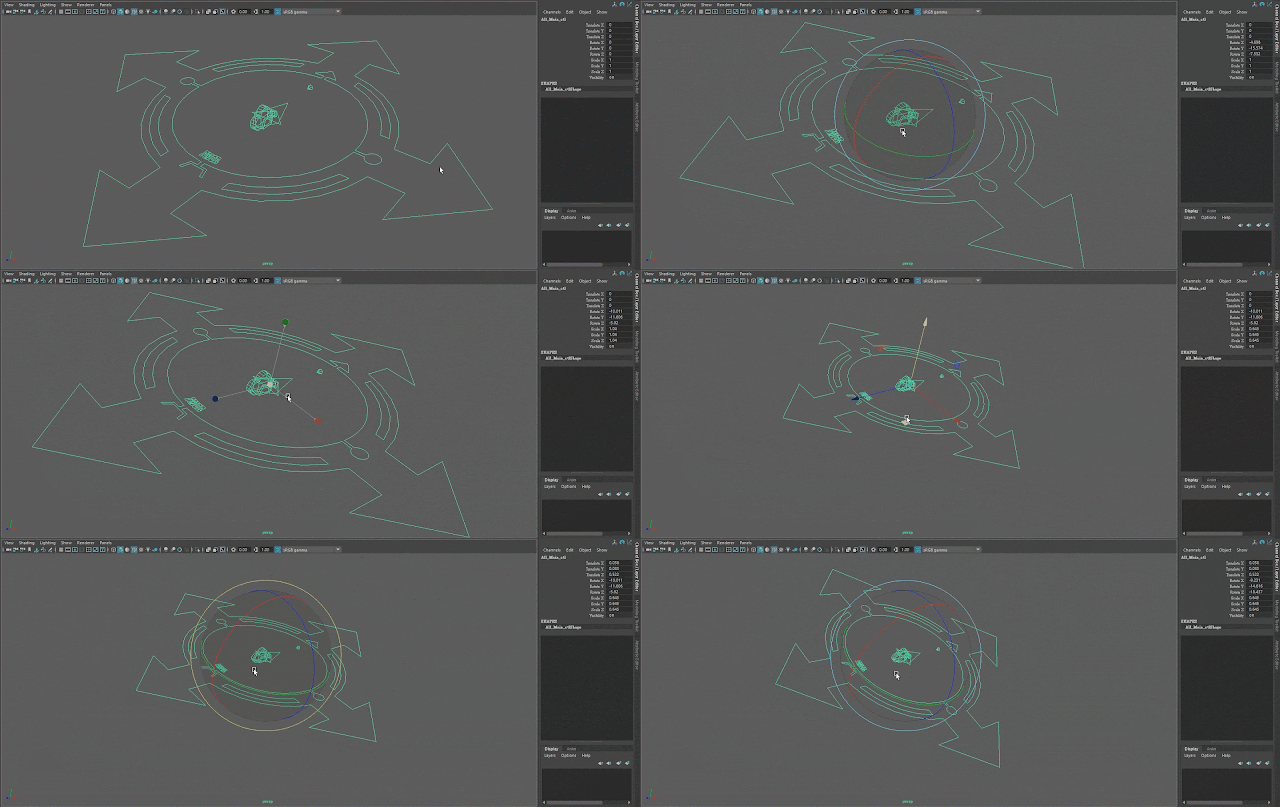
Here I create a top group to make all setups into it for a clear hierarchy, and one more camera group for any further adjustments if needed.
(The "FMCR_Main_Cam_Shake_grp" has been set and locked up by all additional effects, and the "Camera_Aim_ctl_grp" is also locked up by some offsetting attributes.)
3. Cleanup non-used attributes -
It's always a crucial setting to Lock and Hide the attributes that are not designed for keying to avoid accidentally breaking functions.
Tool look :

4. Adding [ Shake ] effect -
This is the most common function setup for a camera. We often only require slight shaking in the camera's fundamental animation. For example, when depicting a car driving on a bumpy road, this attribute can greatly enhance its realism.
Shaking example:
5. Adding [ Handheld ] effect -
This is one of the best setups for camera movement, also known as the「Hand Shake」or「Hand Carried」effect, primarily to simulate the sensation of handheld motion.

6. Adding [ Vibration ] effect -
This is also one of the best setups for cameras, also known as the「Noise Movement」or「Shiver Effect」, it can be applied when an object lands suddenly or when one feels a strong sense of fear and tension.

You might be curious about the similarity among these aforementioned effects, and why they aren't combined into a single attribute. The reason is that each effect employs distinct methods to achieve the most suitable outcome. As I mentioned before, these methods involve Nodes, Constraints, and Expressions.
7. Preserving camera motion via separate additional effects -
In this example, "additional effects" refers to any attributes that don't control the basic camera movement, such as Dist, Horizon, Vertical, Roll, Tilt, Pan, and Slide. The 'Enable' attributes for each turns off the effects but maintain the camera's basic movement. This is extremely helpful if you only want to check the movement without breaking the setting values of additional effects.
Each Enable Attr :
8. Adding Main Ctrl for an easy base setup -
Having a main control that encompasses Translate, Rotate, Scale, and Visibility attributes all together is animation-friendly, facilitating effortless and swift posing through a single, centralized control. This approach is not only convenient but also enhances the overall intuitiveness of the process. But if you want to keep the animation curve of the key human readable in the graph editor, every camera movement is recommended to be set through the attributes instead of this main ctrl.

9. Bring up commonly used attributes -
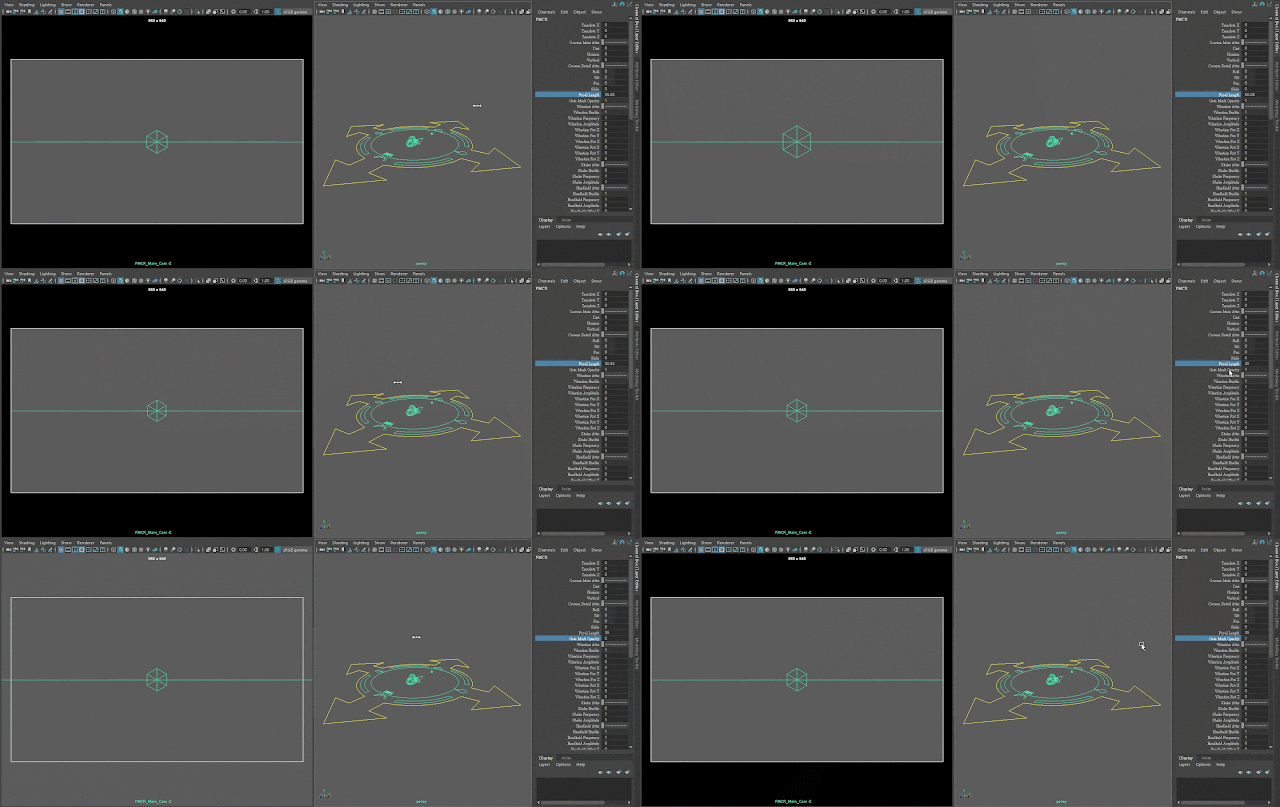
I've integrated two attributes into the FMCR control, which are「Focal Length」and「Gate Mask Opacity」, so there's no need to go in and out to adjust them in the attribute editor.

10. Cameras' crucial settings -
The standard value of the aspect ratio typically with 16:9 is approximately 1.78. It's widely used for a variety of content, including television shows, movies, video games, and computer-generated animations. Please keep in mind that the value isn't always the same, it depends on the resolution of the project. This is a crucial setting, especially its correctness value and after handing over works.
By integrating various useful features into the FMCR, it will be poised to optimize the camera composition process for artists in the 3D industry (Maya in this case), refining their overall workflow and creative output.
Moreover, I'm keen to engage in a dialogue concerning any possible enhancements or improvements that could further augment its functionality and utility based on your creative aspirations.
※ Please note that this is merely a concept and will not be published. It does not exist anywhere online. It serves as a test, and I am still in the process of exploring additional functions and experimenting with their integration.
FMCR article site : FMCR


0 留言